
How to Create a Digital Guestbook for Any Event
You can set up a digital guestbook in minutes: make one private event page, turn on messages plus photo/video uploads, share a QR code, review posts during the event, and export everything after. That gives you one place for notes, pictures, and clips without asking guests to install an app.
If I were setting one up today, I’d keep it this simple:
- Create one event page with the event name, date, cover image, and a short welcome note
- Turn on uploads for text, photos, and video
- Share a QR code and short link at spots guests already stop
- Keep access private and give one person moderation duty
- Leave uploads open after the event so late photos still come in
- Export the full guestbook as one ZIP file and save at least 2 backups
A few numbers matter here. PartyLab’s Starter plan is $44.99 per event and includes 3 months of upload/download access. For video, I’d keep clips around 60 to 90 seconds so they upload with fewer issues on mobile data or weak venue Wi‑Fi. For printed signs, QR codes tend to work best at about 1.5 to 2 inches wide on table cards and 3 to 4 inches wide on larger signs.
This works well for weddings, birthdays, baby showers, graduations, reunions, and work events because the setup stays the same: one link, one gallery, one export.
To keep it clear, here’s the whole process at a glance:
| Step | What I’d do | Why it matters |
|---|---|---|
| 1 | Build the event page | Gives guests one place to post |
| 2 | Add QR codes and short prompts | Helps more people join in |
| 3 | Set privacy and moderation | Keeps the gallery guest-only and clean |
| 4 | Export and back up files | Makes storage and sharing easier |
If you want a guestbook that guests will actually use, this is the simple way to do it.
Step 1: Set Up Your PartyLab Event as the Guestbook Hub
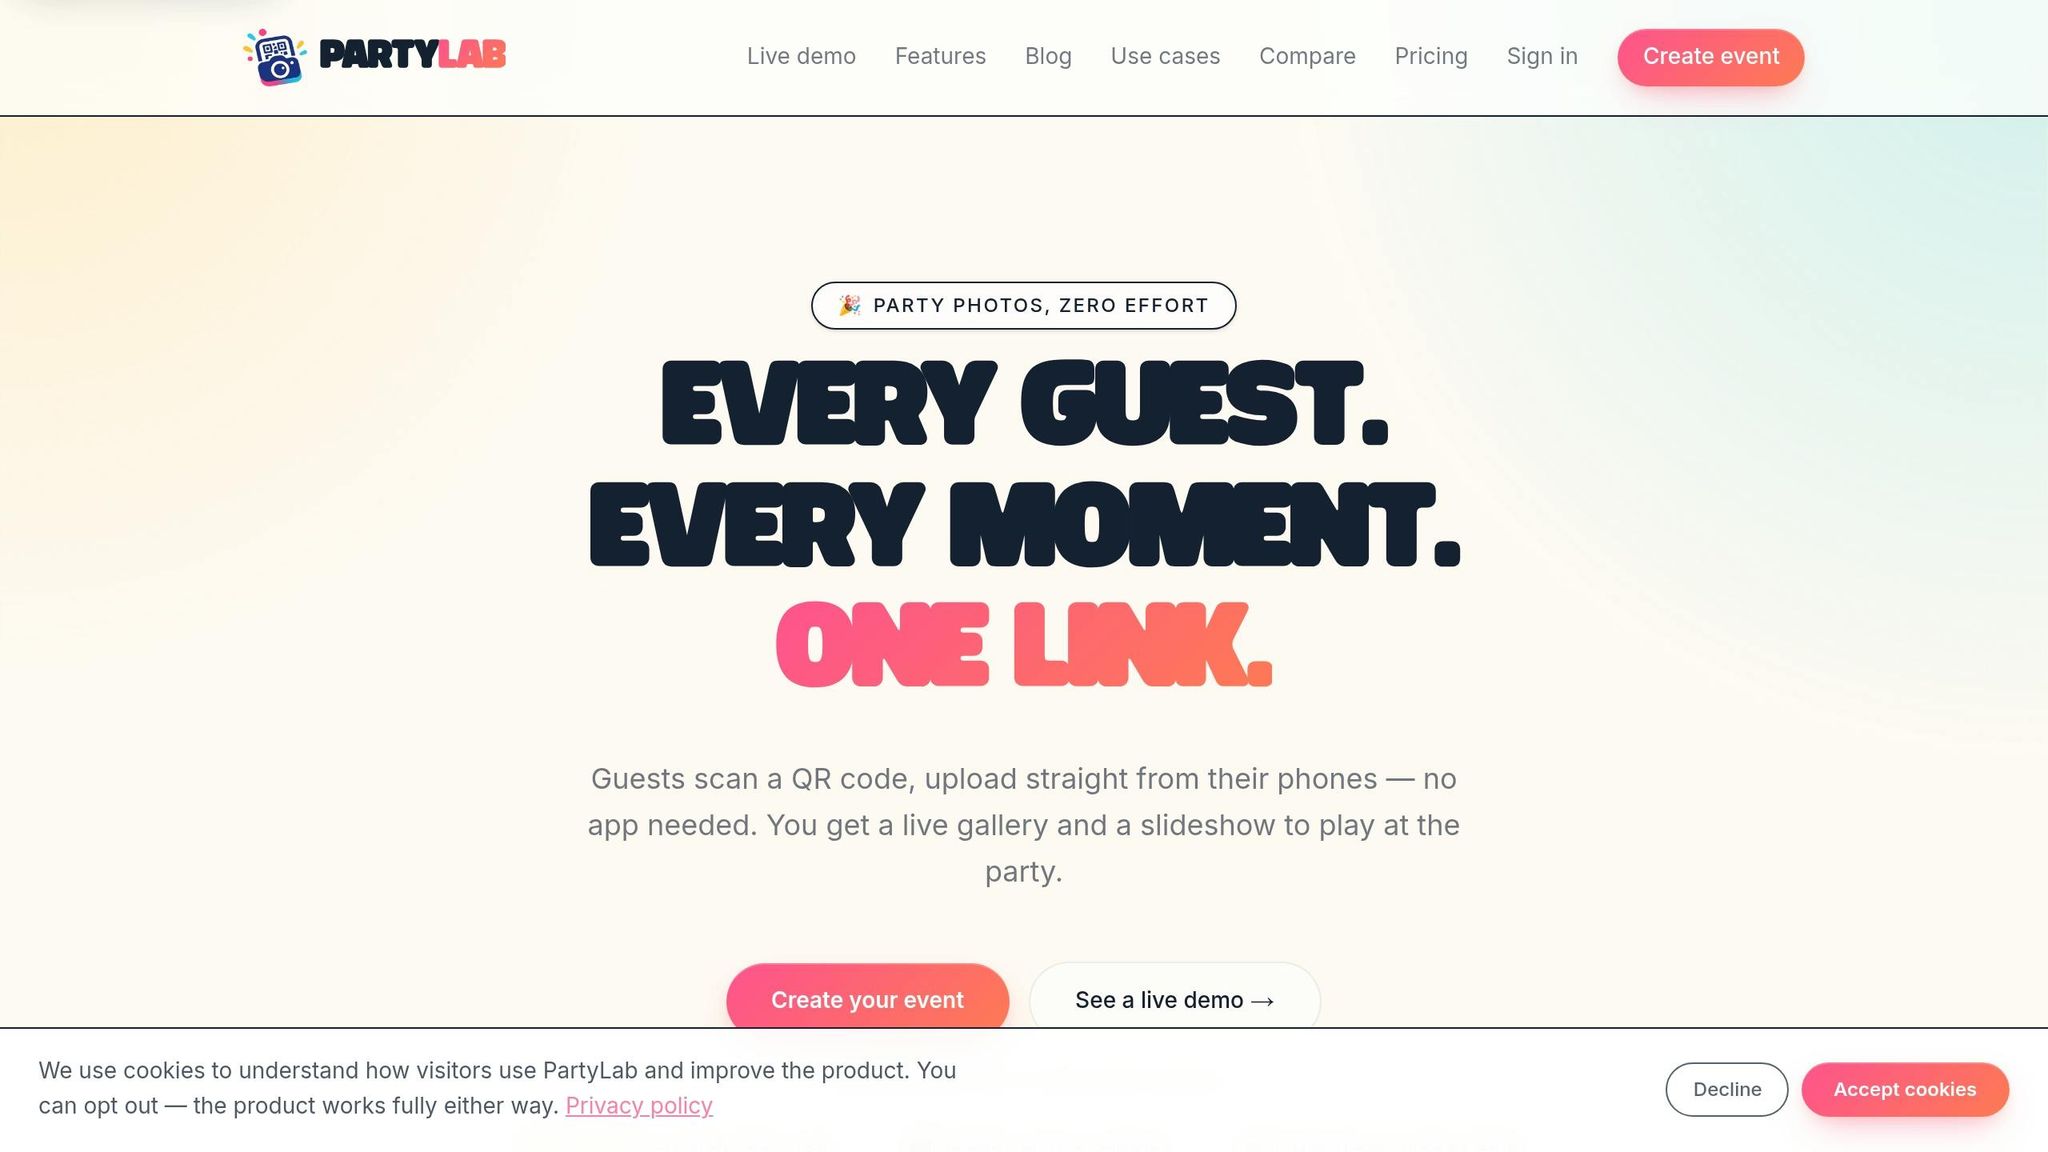
Create the event page and add the basics
Sign into PartyLab and create a new event. Give it a specific name, like "Emma & Jake's Wedding Reception" or "Jordan's Graduation Day – Message Wall." Add the event date in MM/DD/YYYY format, then upload a cover image.
Next, write a clear welcome message, such as: "Share a favorite memory, photo, or short video from today." This page will act as the guestbook hub for every message, photo, and video. Once the name and welcome message are in place, turn on the contribution types.
Turn on guestbook messages, photo uploads, and video uploads
Enable text messages, photo uploads, and video uploads so guests can use whatever format feels easiest. PartyLab supports JPEG, PNG, HEIC, WebP, MP4, and MOV, which means guests can upload from iPhone or Android without converting files first.
For video, keep clips under 60–90 seconds. Shorter clips upload faster, which helps a lot when people are on mobile data or spotty venue Wi-Fi.
Save the event link, printable QR code, and slideshow view
Save the share link and QR code in two places: a notes app on your phone and a cloud doc. That way, if you need to reprint or resend them on event day, you’re not scrambling.
The slideshow gives guests something live to look at during the event. Open it on a laptop and connect it to a TV or projector. As new uploads come in, they appear on screen fast, which keeps the guestbook front and center.
Test the page the day before by posting one message, one photo, and one short video from both iPhone and Android.
With the hub set up, the next move is making it simple for guests to join in.
sbb-itb-46c9b96
Step 2: Make It Easy for Guests to Join and Contribute
Place QR codes where guests naturally stop
Once your guestbook hub is live, put the QR code in places where guests already pause: the entrance, tables, bar, and photo backdrop.
For table cards, a 4 x 6-inch card in a small acrylic stand works well. In central spots like the welcome table or bar, use an 8 x 10-inch framed sign. Keep the QR code itself large enough to scan without a struggle:
- Table cards: at least 1.5 to 2 inches wide
- Larger signs: about 3 to 4 inches wide
Print on matte paper, and size the code so people can scan it easily while standing.
| Location | Best Sign Size |
|---|---|
| Welcome / check-in table | 8 x 10 inch |
| Each dining table | 4 x 6 inch card |
| Bar area | 8 x 10 inch |
| Gift or card table | 4 x 6 inch card |
| Photo backdrop | 8 x 10 inch |
Placement can shift a bit by event type. At weddings, add a small card at each place setting and a larger sign near the escort card or guestbook table. For birthdays and showers, signs tend to work best near the cake table or gift-opening area. At corporate events, use registration desks and tent cards in the seating area. For reunions and graduations, the class or family photo area usually gets strong visibility.
Use one short prompt that tells guests what to do
Keep the instruction short and plain:
Scan to leave a message, photo, or video for [Name/Event].
Then add:
No app needed - just your phone camera.
If the PartyLab slideshow is playing on a nearby screen, say that uploads appear on the live slideshow. That small detail gives guests an instant reason to join in.
You only need to swap the event name:
- Wedding: Scan to share a message, photo, or video for the newlyweds
- Birthday: Scan to share a favorite memory, photo, or video for [Name]'s birthday
- Baby or bridal shower: Scan to leave a note, photo, or video for the new parents or the bride-to-be
- Reunion: Scan to upload your reunion photos and a message for the group
- Graduation: Scan to share a congrats message, photo, or video for the graduate
- Corporate event: Scan to add your message, photo, or video to the event gallery
Boost uploads with live reminders and on-screen display
A couple of reminders during the event is usually enough. One should come early, after most guests have arrived. The second works best later, right before a main moment.
A DJ or MC can keep it simple and point guests to the QR codes at the entrance and on the tables. They can also mention that guests can leave a message, photo, or video in the digital guestbook with no app required.
A slideshow on a screen in a central spot can help a lot too. When people see photos and messages pop up live, they often want to join in themselves. A short note that uploads will appear on the big screen makes the benefit obvious.
Once guests know where to upload, move on to privacy and moderation.
Step 3: Keep the Guestbook Private, Organized, and Easy to Manage
Once guests know where to upload, the next job is simple: keep access tight and moderation easy.
Use private access settings and controlled sharing
Set the event to private so only people with the link or QR code can open it. Then share that link in places guests already check, like invitations, programs, or on-site signage. For corporate or sensitive events, send it through internal email or a private RSVP list instead. A short note on your signage can also make it clear that the gallery is for guests only.
Review uploads and assign one person to moderate
Pick one person to handle moderation during the event. That could be a bridesmaid, a day-of coordinator, or someone on the events team. Give them moderator access ahead of time, along with a short checklist so they know what to do before things get busy.
During the event, have them review uploads on a simple rhythm. For big gatherings, that may mean checking in often. For smaller events, natural breaks usually do the job. The aim is to hide blurry, off-topic, or inappropriate uploads so the live gallery and slideshow stay clean without pulling attention away from the night.
After moderation is in place, keep uploads open so late-arriving guest photos still end up in the same gallery.
Keep everything in one gallery and leave uploads open after the event
Put all photos, videos, and messages into one event gallery. That makes moderation easier and keeps export simple later.
It also helps to leave uploads open after the event. A lot of guests don’t send photos until they get home, scroll through their camera roll, and finally say, “Oh right, I meant to share these.” Starter includes 3 months of upload and download access for $44.99 per event. Plus and Max extend that access to 1 year.
A short follow-up message with the event link is an easy nudge that the gallery is still open.
After the event, export the full guestbook for storage and sharing.
Step 4: Export and Save the Guestbook After the Event
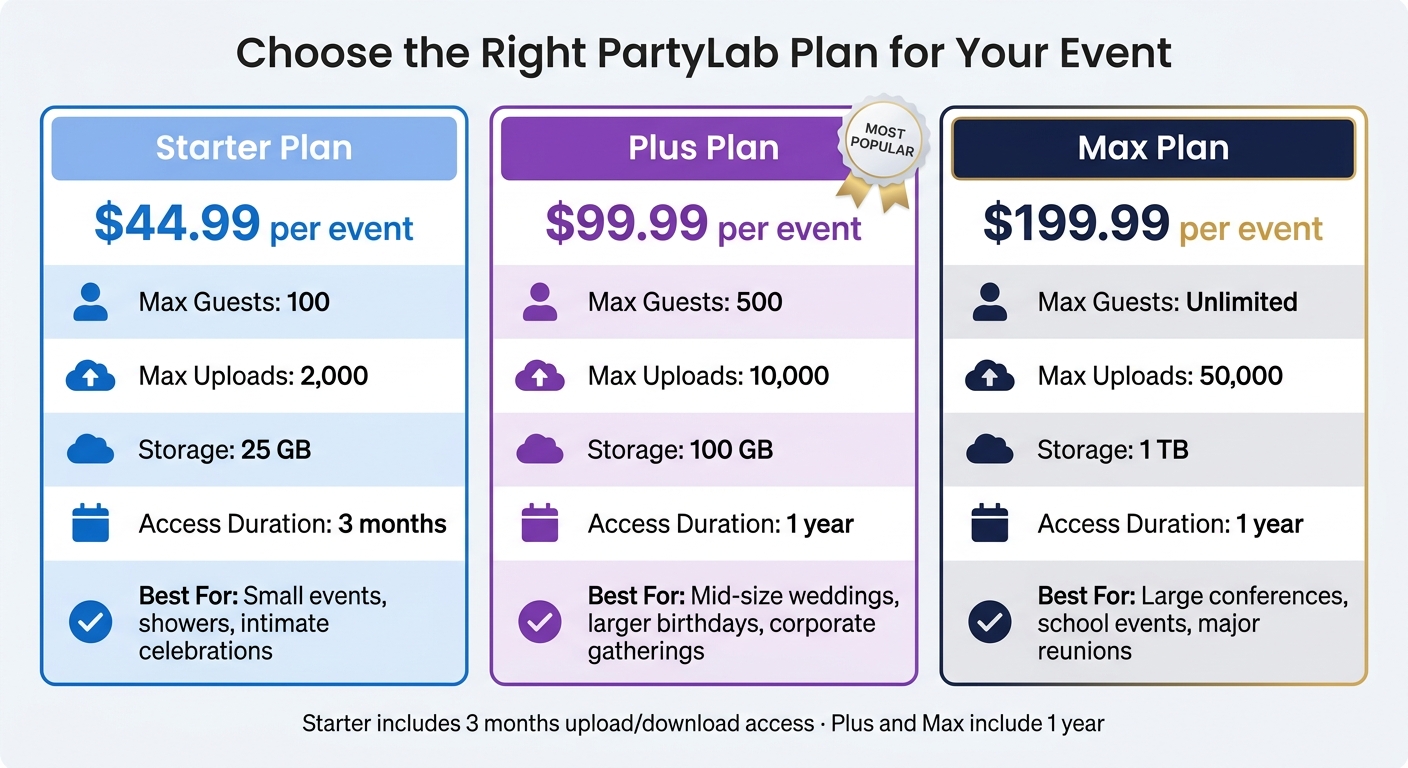
PartyLab Digital Guestbook Plans Compared: Starter vs Plus vs Max
Download photos, videos, and messages in one export
Once moderation is finished, save the full guestbook before uploads taper off or get lost in the shuffle. PartyLab's ZIP export lets you download everything in one batch: photos, videos, and written guestbook messages, all in original quality. That matters more than people think. Screenshots and compressed copies—common when using PartyLab vs Google Photos—can look fine on a phone, then fall apart when you print an album or edit a recap video.
Try to export the same day or within 24 hours. At that point, it's much easier to confirm that everything came through. And if something's missing, you still have time to check with guests before the details slip their minds.
Organize files for long-term storage and sharing
Set up one main folder with the event name and date. Inside it, add subfolders for photos, videos, messages, and exports. It's a simple system, but it saves a lot of digging later, whether you're sending files to a planner, a family member, or an HR team. For more tips on managing media, check out our event photo guides.
For backups, keep at least two copies:
- One in cloud storage
- One on a physical external hard drive or USB drive
If the event has a lot riding on it, keep a third copy offsite.
Once that's done, your export is ready for albums, recap videos, or archive folders.
Pick the right PartyLab plan for your event size
Choose a plan based on expected headcount and upload volume, not just guest count.
| Plan | One-time price (USD) | Guests | Uploads | Storage | Maximum file size | Upload and download access |
|---|---|---|---|---|---|---|
| Starter | $44.99 / event | Up to 100 guests | 2,000 | 25 GB | 250 MB | 3 months |
| Plus | $89.99 / event | Up to 500 guests | 10,000 | 100 GB | 500 MB | 1 year |
| Max | $179.99 / event | No guest cap | 50,000 | 1 TB | 1 GB | 1 year |
Use QR codes to collect contributions, keep moderation light, and export on time into organized backups. That gives you a clean record that's ready for albums, recap folders, or archive storage.
FAQs
How many QR signs should I print?
For larger events, put QR codes in several places so guests can spot and scan them without hunting around. The best spots are high-traffic areas like entrances, registration desks, dining tables, bars, food stations, and other places where people naturally gather.
For weddings or dinner events, placing a code on every table often works best. You can add it to menu cards or printed programs. You can also place QR codes in event programs or display them on stage screens.
What if guests have trouble uploading at the venue?
Keep the upload process app-free and account-free so guests can use their phone browser without friction. A short announcement from the host or MC asking guests to scan the code on their table can help get more people to upload.
For mixed-age groups, put visible QR codes on tables, at registration, and near the bar. It also helps to leave the upload window open for a week after the event.
How do I choose the right plan for my event?
PartyLab offers Starter at $44.99 USD, Plus at $89.99 USD, Max at $179.99 USD per event. Each package is a one-time payment. There is no free upload tier or recurring event subscription. Create an event draft, then choose Starter, Plus, or Max before sharing with guests. Guest uploads require a paid package.
Starter: up to 100 guests, 2,000 uploads, and 25 GB storage. Plus: up to 500 guests, 10,000 uploads, and 100 GB storage. Max: no guest cap, 50,000 uploads, and 1 TB storage.
Starter includes 3 months of upload and download access. Plus includes 1 year of upload and download access. Max includes 1 year of upload and download access. Download your files before access ends; downloaded copies are yours to keep.