QR Code Photo Sharing at Events: How It Works
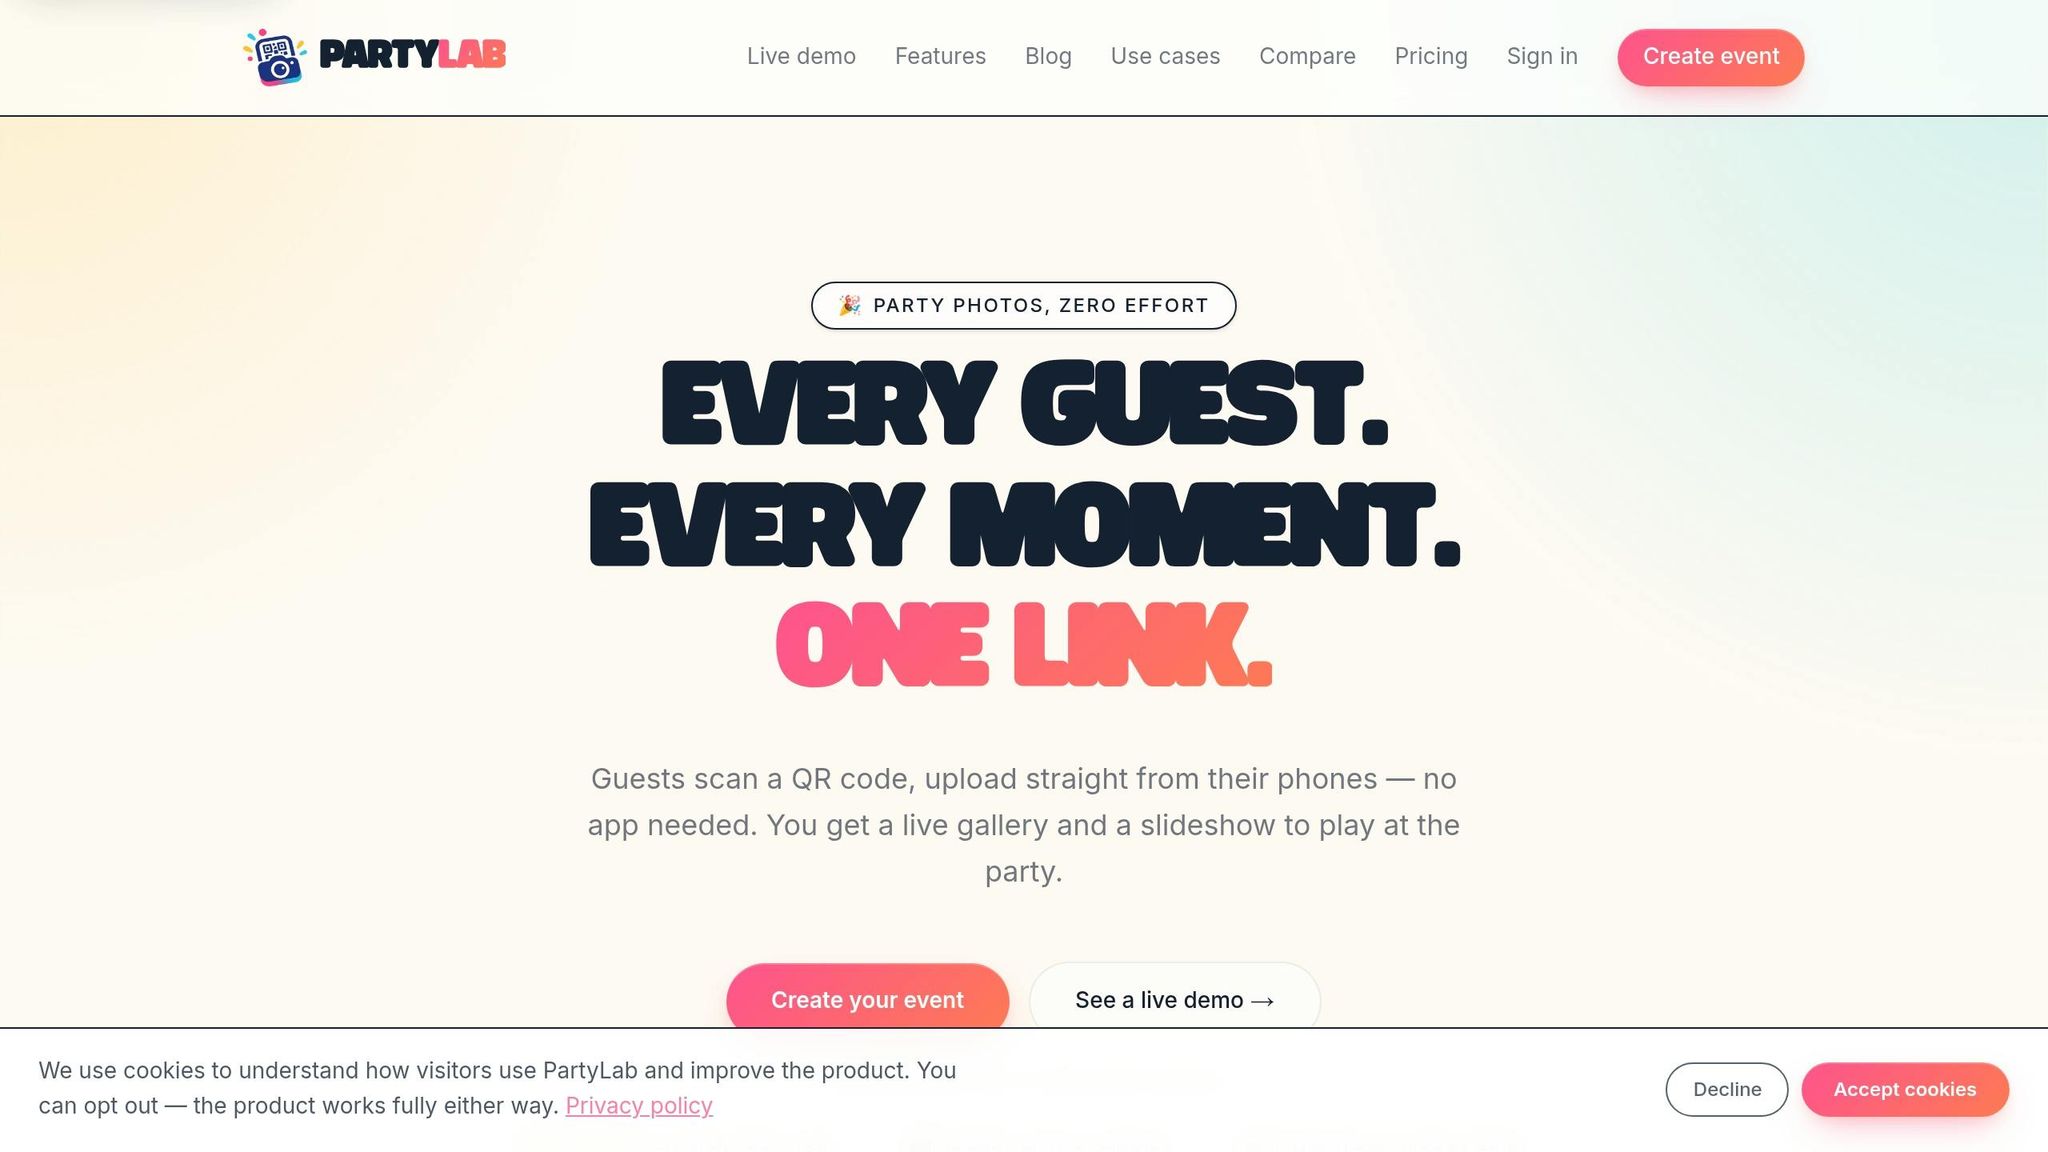
Yes - QR code photo sharing is one of the simplest ways I can collect guest photos in one place. Guests scan a code, open a browser page, upload photos or videos, and see everything in a shared gallery. No app. No login. No texting files after the event.
Here’s the whole setup in plain English:
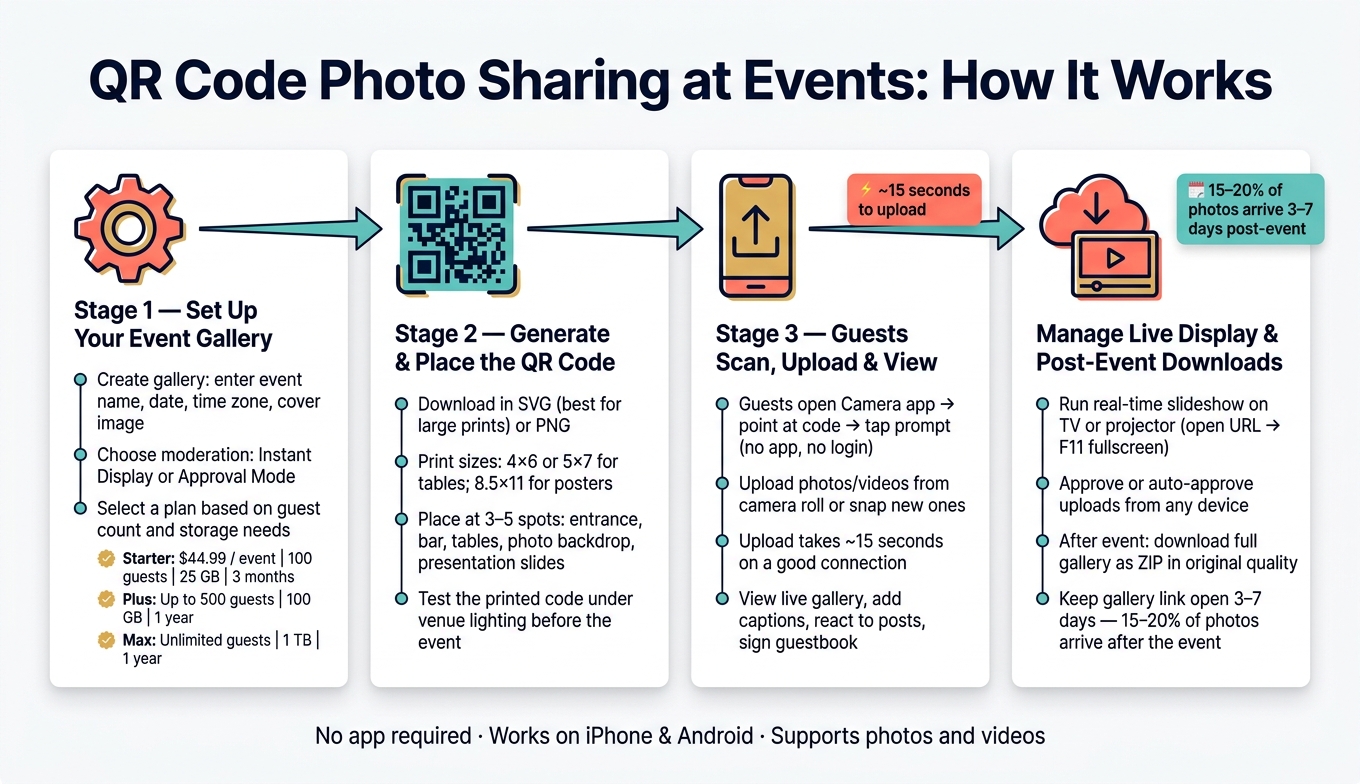
- I create one event gallery and get an upload link plus a QR code.
- I print the code on signs, table cards, or slides.
- Guests scan with an iPhone or Android camera.
- They upload from their phone in about 15 seconds.
- I can let posts appear right away or review them first.
- I can show the gallery live on a TV or projector.
- After the event, I download the gallery and keep the link open for late uploads.
A few details matter more than most people think:
- SVG is the better file type for large printed QR signs.
- 3 to 5 sign locations is enough for most venues.
- Video uploads need more storage, so plan size matters.
- About 15% to 20% of event photos may arrive 3 to 7 days later.
- The Starter plan starts at $44.99 per event.
If I want the short version, it’s this: set up the gallery, choose upload rules, print the QR code clearly, place it where guests will see it, and keep the gallery available after the event for late photo uploads.
| Part | What happens |
|---|---|
| Setup | I create the event, add details, and pick upload settings |
| QR code | I download it, print it, and place it around the venue |
| Guest use | Guests scan, upload, and view the gallery in their browser |
| Live display | I run a slideshow on a TV or projector |
| After the event | I export the gallery, back it up, and share the link again |
That’s the full process, boiled down to the steps that matter.
QR Code Photo Sharing at Events: 4-Step Process Guide
Step-by-Step: Make a QR Code to Share Wedding Photos | QR Code Generator in Canva (Full Tutorial)
sbb-itb-46c9b96
Step 1: Set Up Your PartyLab Event and Upload Settings
Start by creating the event. Then set the rules guests will follow when they scan the QR code. These settings shape what people see on the upload page.
Create the event gallery and fill in the basic details
In your PartyLab account, create a new event gallery. You’ll enter four main details: event name, event date in MM/DD/YYYY format, time zone, and a cover image.
That cover image shows up at the top of the upload page, so it’s one of the first things guests will notice.
If you’re running multiple events, each gallery stays separate inside the same account. That keeps things tidy and makes it much easier to manage.
Set upload rules, moderation, and guest interaction options
Next, decide how uploads should appear in the gallery.
With Instant Display, photos show up as soon as a guest uploads them. That’s a good fit for weddings and birthday parties, where people usually want the gallery to feel live and fast-moving.
With Approval Mode, each upload waits for review before it appears. That’s the better pick for U.S. corporate events.
For large corporate events, assign one person to manage the moderation queue from their phone so the live gallery stays clean.
Once moderation is set, turn on only the guest features you plan to use:
- Photo captions let guests add a short note to their uploads.
- A digital guestbook collects written messages along with photos.
- Photo reactions let guests like what others post.
- Guest email collection saves email addresses during upload, which helps if you want to send the final gallery link later.
None of these options are required. Pick the ones that make sense for your event. More features aren’t always better. Sometimes a simpler upload flow gets more participation.
Choose the right PartyLab plan for your event size
Choose your plan based on guest count, expected uploads, and storage space for the gallery people will use during the event and after it.
One thing to watch: if guests will upload videos, go with a larger plan. Video files take up much more space than photos.
| Plan | Price | Guest Cap | Upload Cap | Storage | Access Duration | Best Fit |
|---|---|---|---|---|---|---|
| Starter | $44.99 / event | Up to 100 guests | Up to 2,000 uploads | 25 GB | 3 months | Small parties, intimate weddings |
| Plus | Not specified | Up to 500 guests | Up to 10,000 uploads | 100 GB | 1 year | Large weddings, mid-sized corporate events |
| Max | Not specified | Unlimited guests | Up to 50,000 uploads | 1 TB | 1 year | Conferences, festivals, large galas |
Save the gallery when you’re done. Then move on to printing the QR code signs in Step 2.
Step 2: Generate the QR Code and Place It Around the Venue
Save the event to generate its QR code for the upload page.
Download the QR code and print clear signs
Download the QR code in PNG or SVG format. If you plan to print it at different sizes, go with SVG. It stays sharp when resized, so you don't end up with a blurry code on a larger sign.
For table cards, 4 x 6-inch or 5 x 7-inch prints work well. For entrance posters, use 8.5 x 11-inch sheets.
Print on matte paper to cut glare. Keep the design clean: a black code on a white background with a clear white border around it. Under the code, add a short line like "Scan to share your photos - no app needed."
Before the event, test the printed code at arm's length under the venue's lighting. A code that looks fine at your desk can be a pain to scan in a dim room.
Where to place QR signs at your venue
Use a few touchpoints so guests don't have to hunt for the upload page. In most cases, 3 to 5 spots around the venue is enough. The goal is simple: guests should run into the code naturally during the event.
| Event Type | Best Placement Spots |
|---|---|
| Wedding | Guestbook table, bar, every reception table, photo backdrop |
| Birthday | Entrance, cake table, gift table, photo wall |
| Corporate | Check-in desk, name badges/lanyards, networking areas, presentation slides |
| Reunion | Welcome table, memory/photo wall, bar area |
One smart spot is near the bar, where people naturally stop for a minute. You can also add the QR code to invitations and reminder emails.
Display the QR code on a TV or projector screen
You can also show the QR code on a TV or projector. Connect a laptop or tablet, open the display link in a browser, and switch to full-screen mode to keep the code easy to scan. You don't need extra hardware or software on the display device.
Leave the code on screen between slideshow loops so guests get repeated chances to upload. For conferences or corporate sessions, add the QR code to the beginning and end of every presentation.
Once the code is visible, guests can scan it from any phone and upload in seconds.
Step 3: What Guests Do on Their Phones
Guests move through this in three quick actions: scan, upload, and view.
How guests scan the QR code on iPhone or Android
Guests open the Camera app, point it at the code, and tap the prompt that pops up. That takes them to the PartyLab upload page in their mobile browser. Most iPhone and Android phones can scan QR codes right from the camera.
If a phone doesn't pick up the code, there are a few easy backups:
- Use the phone's built-in QR scanner
- Try Google Lens
- Type the short event URL printed under the code into a browser
How guests upload photos and videos without an app
Guests tap upload, choose photos or videos from their camera roll, or snap something new right there and send it in. There's no app to install and no account to create.
PartyLab supports common photo and video file types. Uploads tend to move faster on Wi‑Fi. If the venue signal is weak, guests can leave the browser tab open and finish the upload later when they have a better connection.
How guests view the live gallery and leave messages
Once they're done uploading, guests can look through the shared event gallery. If moderation is turned on, new uploads show up after approval.
Guests can also add captions to their photos, sign the guestbook, and react to other guests' posts. That gives the gallery a more social, lively feel.
After that, the host can manage approvals and run the live display.
Step 4: Manage the Live Gallery, Slideshow, and Post-Event Downloads
Approve uploads and keep the gallery organized
Once photos start coming in, moderation helps keep the gallery tidy and the screen feed moving. PartyLab gives you two ways to handle this:
- Automatic Approval: uploads appear in the gallery right away
- Approval Mode: you review each post before it goes live
If you use Approval Mode, you can approve, hide, or reject submissions from any device. That makes it easy to stay in control without being stuck behind one screen. And if you're hosting a big event, pass moderation to someone you trust so you can focus on guests instead of policing uploads.
Once posts are approved, the slideshow takes over and keeps the gallery front and center for the whole room.
Run a real-time slideshow on a TV or projector
PartyLab’s built-in slideshow displays approved uploads as they arrive. Just open the slideshow URL in a browser, hit F11 for fullscreen, and let it run.
That big-screen effect matters more than you might think. When guests see their photos show up live, they tend to share more.
Here’s a quick side-by-side look at the setup choices people use most:
| Setup Type | Required Hardware | Internet Needs | Ideal Room Size | Pros | Cons |
|---|---|---|---|---|---|
| Laptop + HDMI | Laptop, HDMI cable, TV or projector | Stable Wi-Fi or Ethernet | Any | Most reliable; easy to manage moderation on the laptop screen | Requires a physical cable connection |
| Smart TV Browser | Smart TV with built-in browser | Stable Wi-Fi | Small to medium | No extra laptop needed at the display | TV browsers can be slow or crash |
| Wireless Casting | Laptop or phone, Chromecast or Apple TV | High-speed Wi-Fi | Small to medium | Clean look with no cables on the floor | Prone to lag or dropped connections |
| Projector + Laptop | Projector, laptop, HDMI/VGA cable | Stable Wi-Fi | Large | High visibility for large crowds; wow factor | Requires dim lighting for best visibility; setup can be bulky |
One small thing can save you a headache: keep the slideshow device plugged in and set it to never sleep. A screen that goes dark halfway through the reception is the kind of problem that feels silly because it’s so easy to prevent.
Download, back up, and share everything after the event
After the event, export the full shared gallery and save it right away. PartyLab lets you download the entire gallery as one ZIP file in original quality. Grab that file soon after the event, then store a second copy on an external drive.
It also helps to leave the gallery link active for a few more days. Why? Because 15% to 20% of event photos are uploaded 3 to 7 days after the event, once people finally sit down and sort through their camera rolls at home.
A short follow-up message with the gallery link can bring in those late uploads and give everyone one place to look through the full photo set.
FAQs
Do guests need Wi-Fi to upload photos?
No. Guests can upload photos through the venue’s Wi-Fi or their phone’s cellular data.
Because it runs in a mobile web browser, they can use whichever connection is available, as long as they have a standard data signal.
How big should my QR code signs be?
Your QR code signs need to be big enough to scan without making guests hover over the table like they’re reading fine print. For table cards, start with at least 2 x 2 inches.
For larger displays, use the 10:1 rule. That means the code should be at least one-tenth of the scanning distance. So if someone is scanning from 40 inches away, the code should be 4 x 4 inches. On large screens, you may need a 10 x 10 inch code.
For general signs, a minimum size of A5 is a good target.
How long should I keep the gallery open?
Keep the gallery open long enough for guests to upload their photos after the event. How long that window lasts depends on the provider. Some galleries stay live for just one day, while others remain available for up to 12 months. Check your provider’s time limit so you don’t get caught off guard.
Before the gallery expires, download all photos as a ZIP file so nothing gets lost. It also helps to send one final “last call” message with the upload link 24 to 48 hours after the event.